
This week, a brief glimpse of sunshine amidst weeks of rain has me thinking about the beautiful flowers that will bloom as the year unfolds. As a botanical artist, the natural environment is my main source of creative inspiration. In the winter it can be difficult to feel truly inspired.
Over the weekend, I was delighted to spot the first daffodil bulbs pushing up through the soil. Their bright yellow blooms and early appearance always bring a cheerful sense of hope and a welcome promise of spring after a long and challenging winter.
In this week’s blog, I’ll be sharing my step-by-step watercolour techniques for painting a lovely daffodil, perfect for beginners and anyone looking to improve their botanical painting skills.
Why Daffodils Are Perfect for Botanical Painting
Daffodil flower heads have a simple yet expressive form. While their petals appear simple, the trumpet and overall structure offer a chance to practice observing and painting a variety of shadows, highlights and textures.
You don’t need a large palette or collection of tools to paint them either, you can use just a few basic watercolour colours and brushes, many of which you may already have at home.
Materials
-
Watercolour paper (I use St Cuthberts Mill Saunders Waterford 140lbs Hot Pressed High White)
-
Yellow paints
-
Blue and red paints for mixing greens and browns
-
Round brushes (small for details, medium for washes)
-
Water jar
-
Kitchen towel
-
Eraser for graphite cleanup

Step 1: Painting Shadows
After drawing the outline with pencil, begin by adding depth to petals with light and dark areas.
-
Start with the bottom petal. Remove the excess graphite using an eraser, then use a dry brush on dry paper to paint shadows along the edges and curves.
-
Blend the shadow slightly with a damp brush for soft transitions.
-
Repeat for the other petals, making sure to keep a balance between light and dark areas.
-
Tip for beginners: Don’t worry if it’s not perfect, shadows can be adjusted in later steps.
Step 2: Apply Lemon Glaze
Brighten the petals with a translucent yellow wash.
-
Mix a thin, bright lemon yellow.
-
Apply a light wash over the petals, starting with central petals and working outward.
-
Add small touches to enhance brightness without covering the shadows.
-
Tip: Keep the wash thin; multiple light layers look better than one thick layers
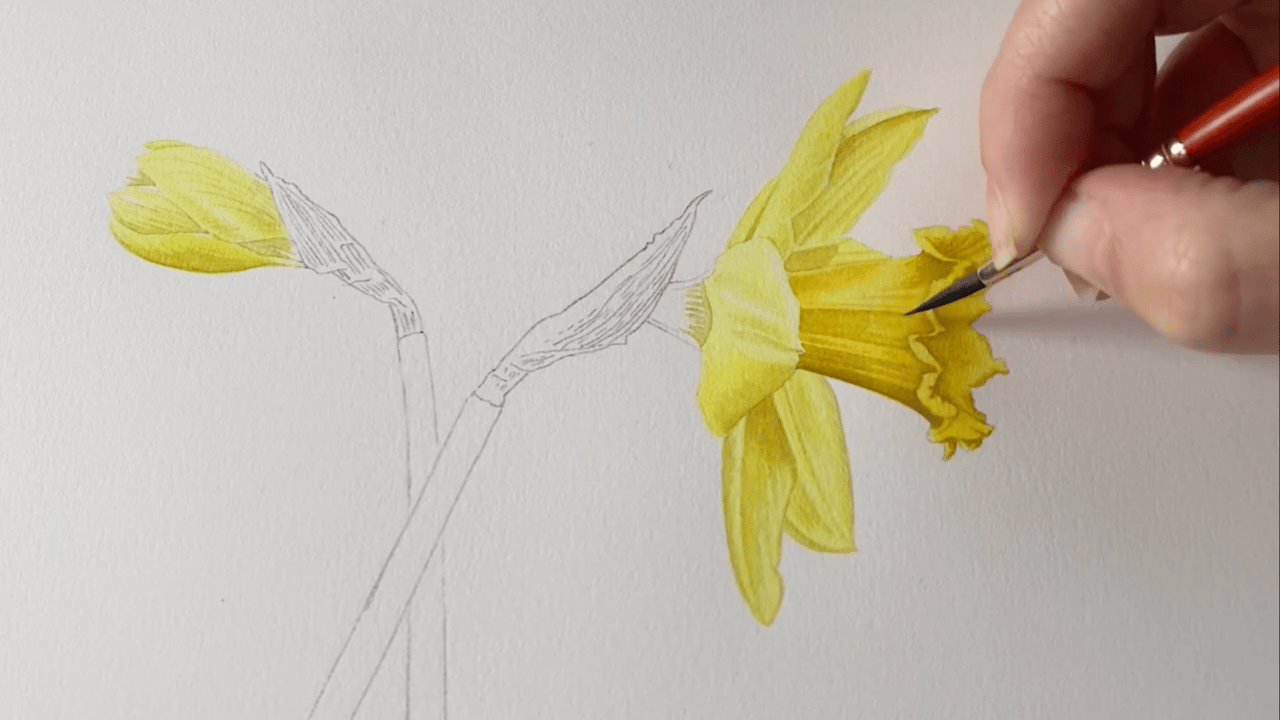
Step 3: Adding Texture and Details
Give petals and stems life with fine textures and gentle colour variation.
-
Use wet-on-dry (painting on dry paper) for sharp lines, and wet-on-wet (painting on damp paper) for soft blended areas.
-
Paint the frilly edges of the trumpet using the tip of a small round brush.
-
Add a pale brown wash to the stems to create a natural papery effect.
-
If needed, apply another thin layer of colour once the first has dried to make stems or leaves richer, this is called reglazing.
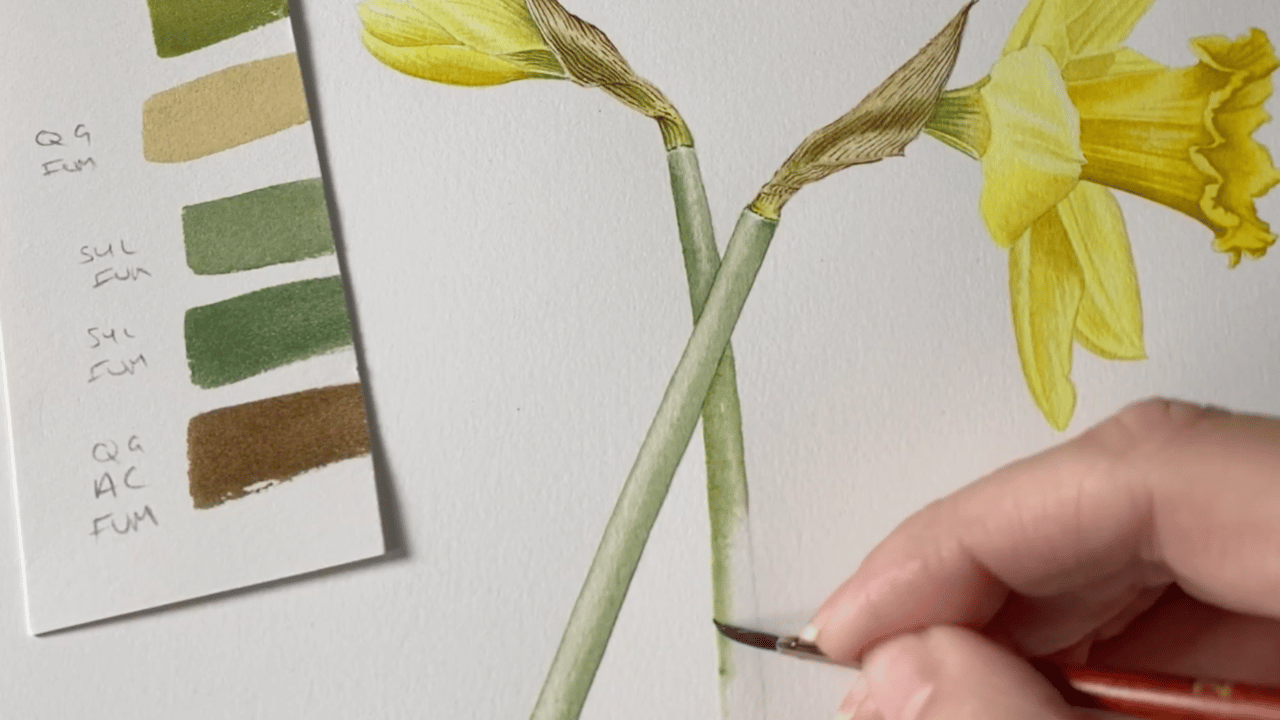
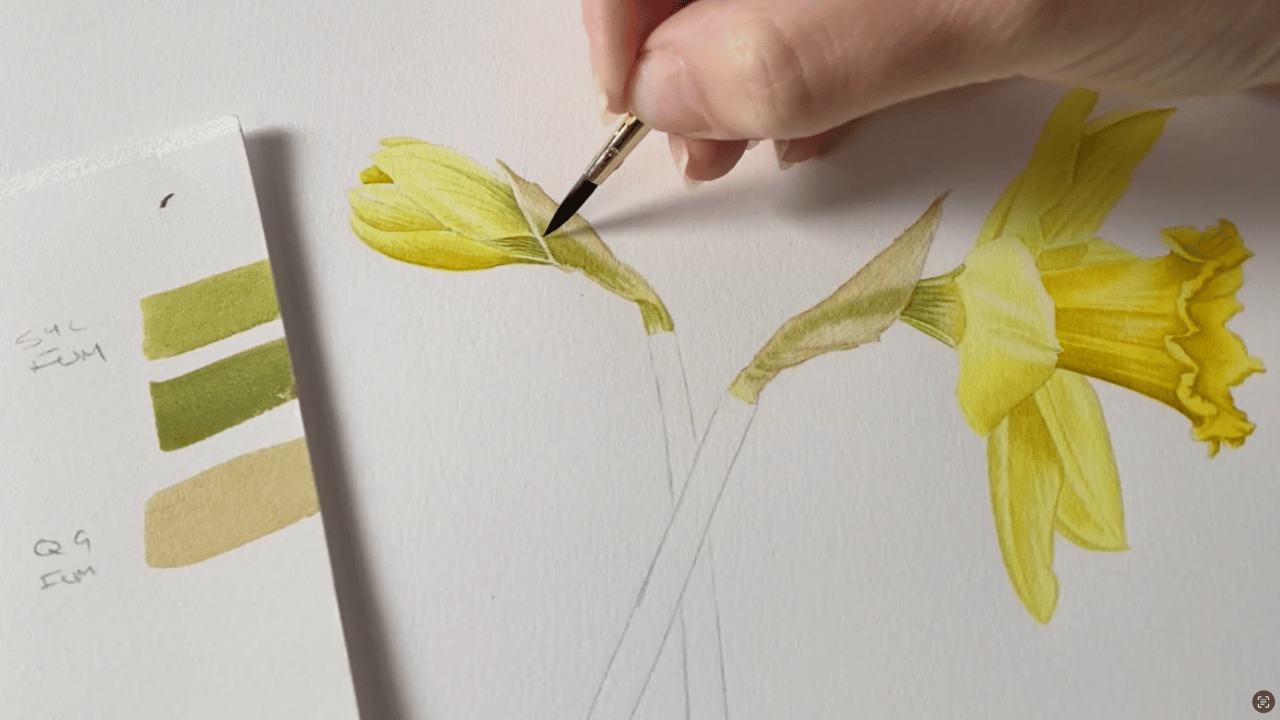
Step 4: Painting Buds and Stems
Define buds and stems with soft layers and subtle veins.
-
Paint green veins on buds using wet-on-dry for sharp lines.
-
Mix darker green and blue-green to add depth along the stems.
-
Let each layer dry slightly before adding more colour to avoid muddying.
-
Tip: Follow the natural curve of the stems for a realistic look.
Step 5: Final Touches and White Gouache

Polish your painting with highlights, edge clean-up and detailed texture.
-
Add final shadows, highlights, and texture lines on petals and stems.
-
Use a tiny bit of white gouache to tidy edges or enhance especially bright areas.
-
Step back to check the composition, keep highlights visible and soften any unnaturally hard edges.
-
Allow the painting to dry fully before making any last adjustments.
-
Tip for beginners: Take breaks and step back frequently, this helps you see if the painting feels balanced.
It’s been wonderful to share a glimpse of my process when painting daffodils today. I’d love to see your own creations, please share them in the comments below!
If you’d like to follow the complete real-time tutorial, including colour mixing, brush control and the full painting process, I’ve shared the extended lesson on Patreon. Members also receive:
-
A printable reference image
-
A detailed colour mixing breakdown
-
A printable line drawing

0 Comments